|
|
||
|---|---|---|
| Brainstorming/TackPoint | ||
| Cases/Sandwich | ||
| Documentation | ||
| Footprint | ||
| Kicad | ||
| Libraries | ||
| Parts/Trackpoint | ||
| Previews | ||
| .gitignore | ||
| cols2rows.ods | ||
| LICENSE | ||
| README.md | ||
DK60TP
Mechanical keyboard with backlit, rgb underglow and Trackpoint support.
⚠️ Still in development ⚠️
Features
- Poker case compatible (if you don't use Trackpoint)
- IBM Trackpoint
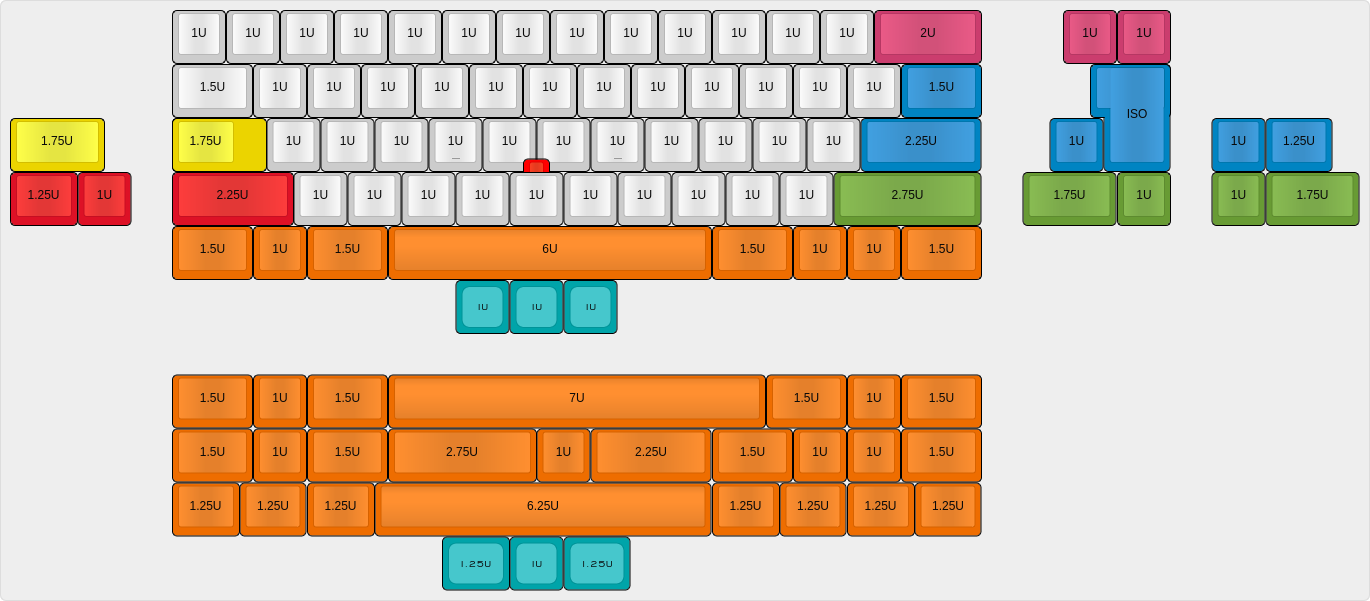
- Many layouts
- Backlit
- RGB underglow
- Open Hardware
Supported layouts
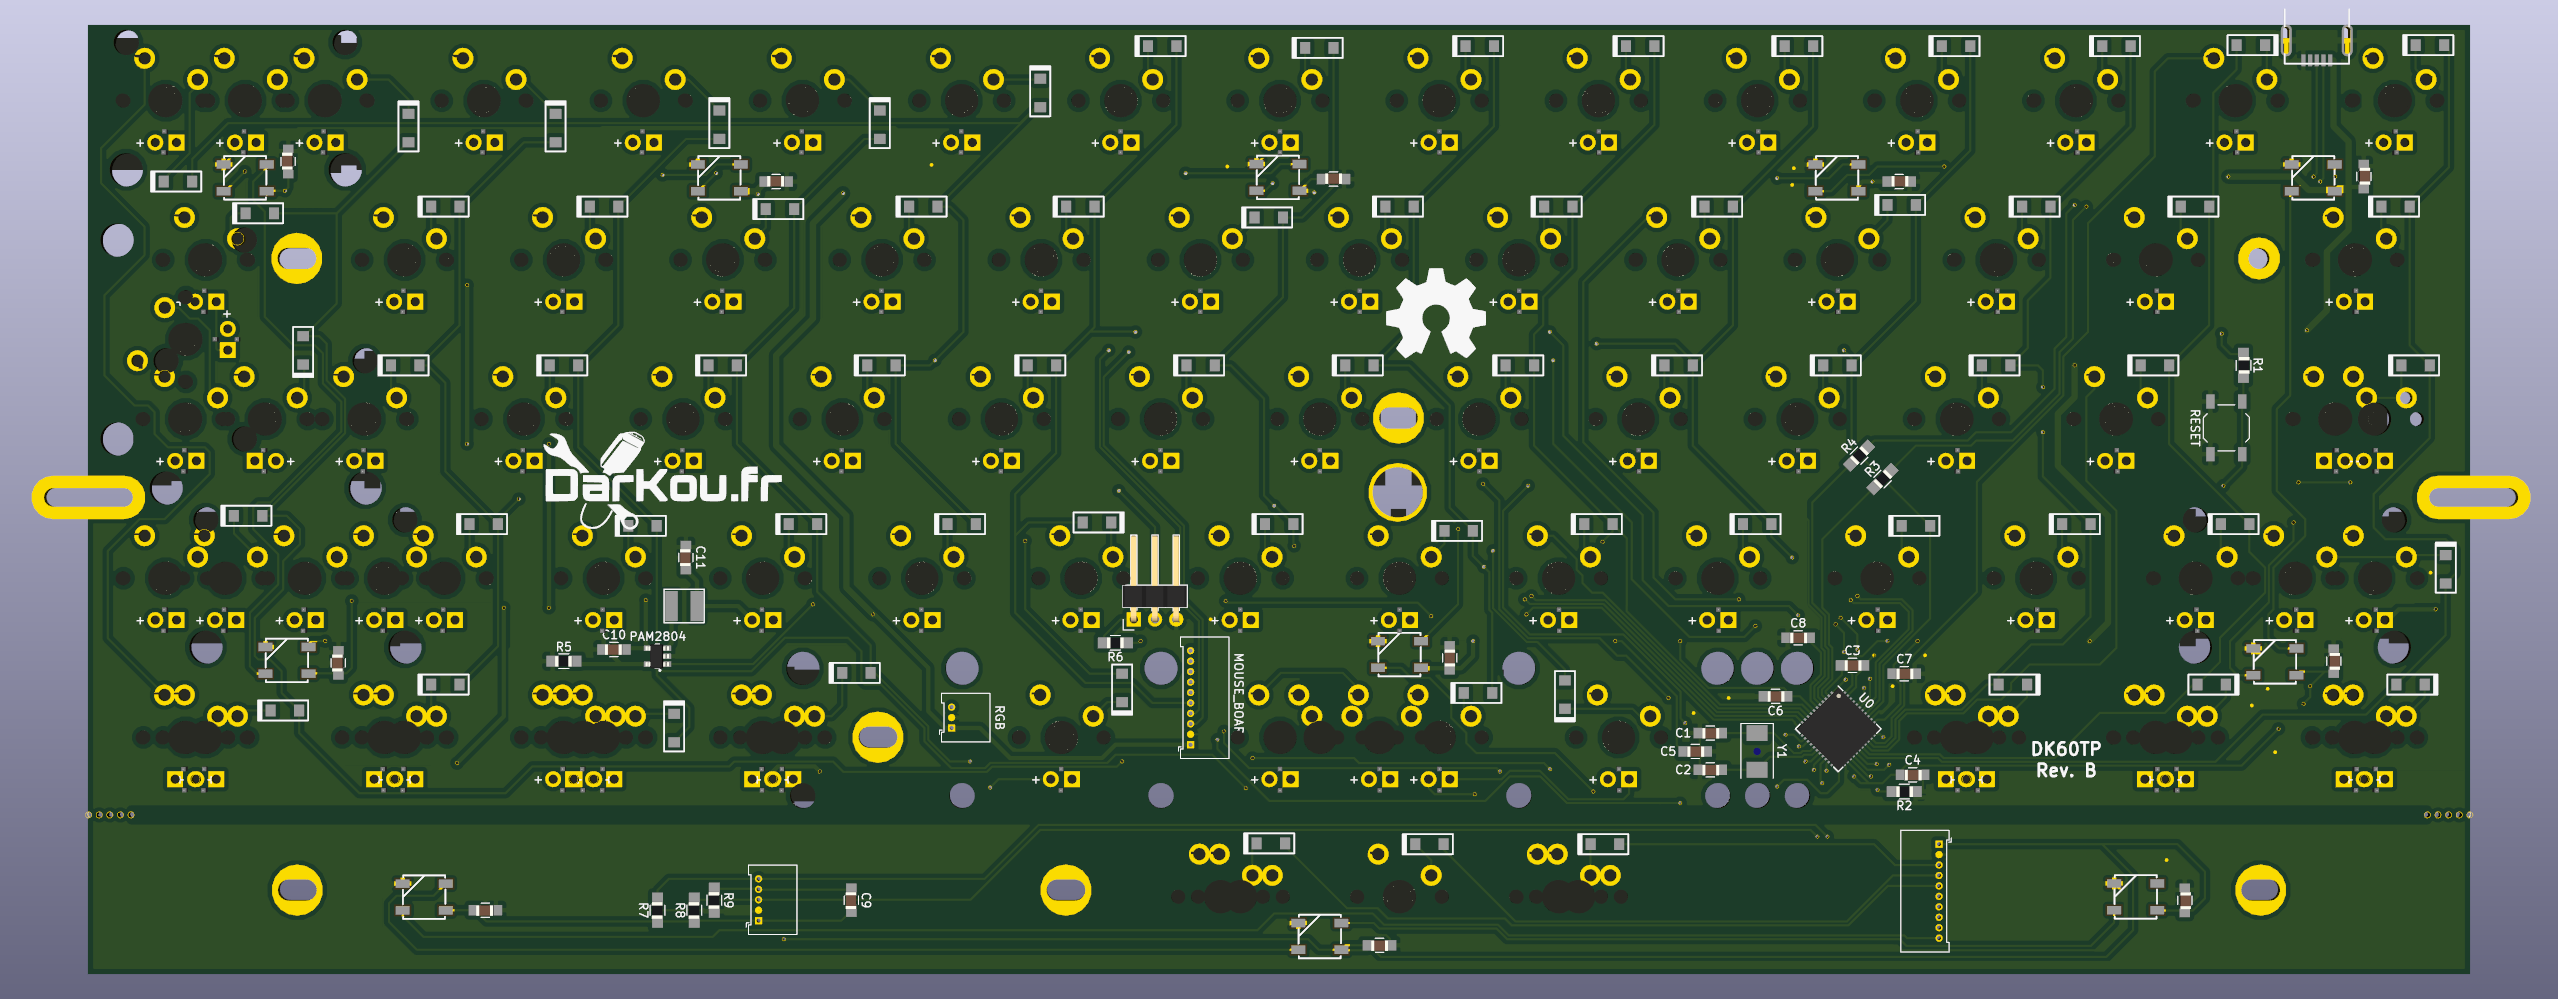
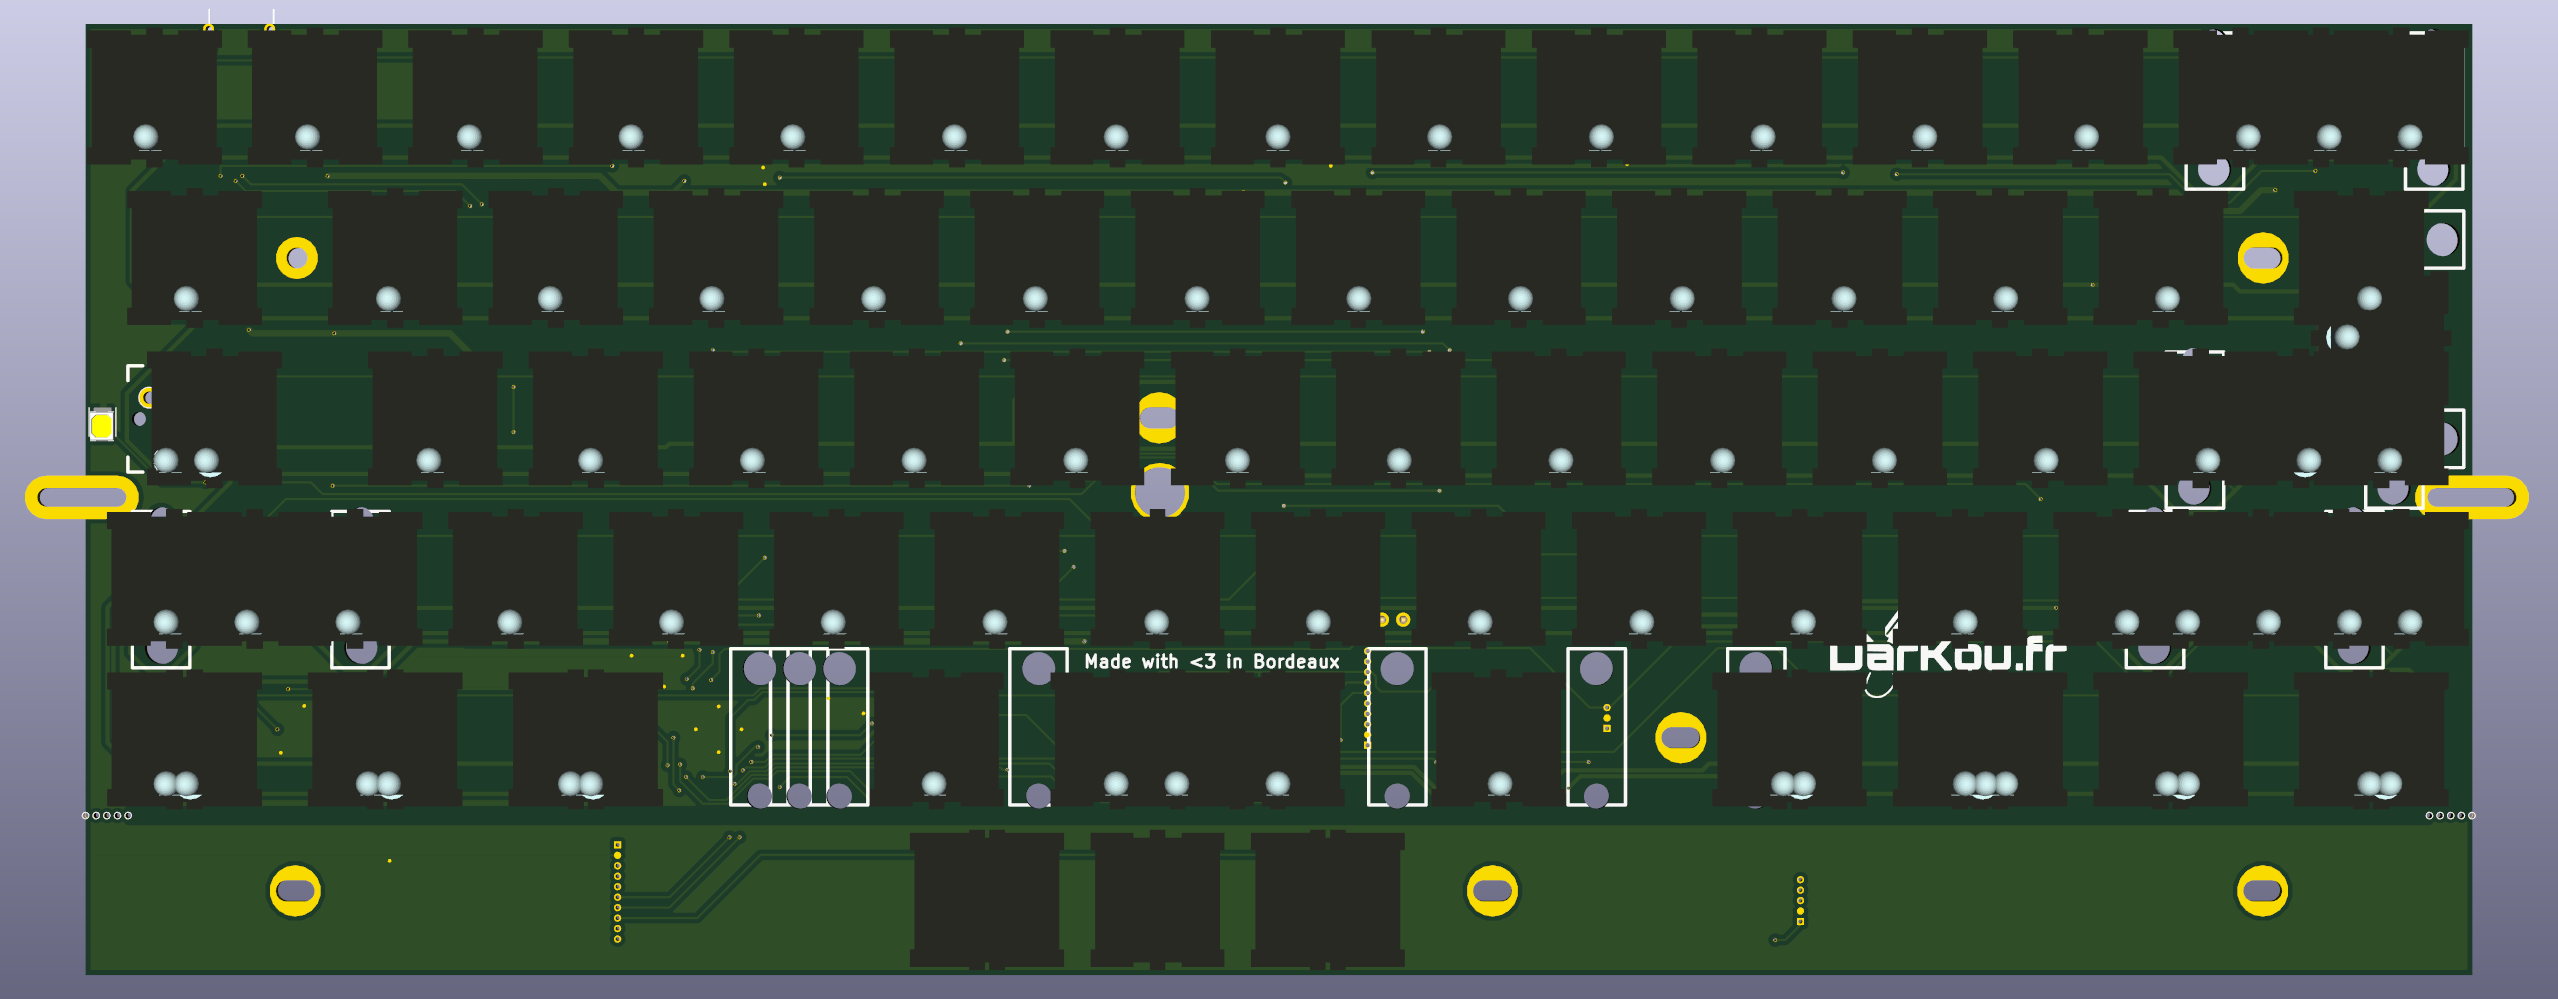
PCB render
Features
DK60TP allows some customisations like RGB underglow, caps lock led or mouse emulation by using trackpoint.
For all pinout above, pin 1 is represented by the square hole.
Trackpoint
To use trackpoint you need to connect the MOUSE PCB with the MAIN PCB. Trackpoint need to be connected to the MOUSE PCB.
Pinout
- Vcc
- GND
- D2 (data)
- reset
- D5 (clock)
Capslock led
Capslock led can be tuned to :
- enable internal led
- disabled it
- use external led
To do this you need to play with the 3 pins connector placed near the reset button.
Pinout
- 1: +Vled (square pin)
- 2: Integrated led
- 3: GND
Example
Integrated led
Place a jumper between pin 1 and 2.
External led
Connect your led between pin 1 and 3.
Disable led
Remove the jumper or place it between pin 2 and 3.
RGB underglow
To add more leds (use WS2812B with capacitor) simply use RGB connector on the mainboard.
⚠️ Do not connect RGB connector if you use the second PCB (those with mouse buttons).
Pinout
- 1: Vcc (square pin)
- 2: GND
- 3: Din
Firmware
DK60TP still in development and for now does not have associate firmware, but it will be supported by QMK firmware.
Used softwares
I've only used Open Source software to make all parts of this project.
List of used softwares:
- OS: Debian
- Kicad
- QCad
- Freecad
- ...
Third party
Libraries and footprints are provided by Hasu, /u/techieee, mohitg11 and me.
External links
- PCB guide
- Hasu's lib
- Hasu's footprint
- /u/techieee's footprint
- mohitg11's footprints and libraries
- Trackpoing pinout on alonswartz github
- Plate generator
- QMK Firmware
Kicad tips
- Usergrid (for MX placement): 0.09375 inches
- Usergrid (for Led placement): 0.1968504 inches
- Gap between Grid origin and edge cut:
- X: 0.53
- Y: 0.50 mm


