Add lightgallery extension
Add OMV guideline (WIP)
Remove 'edition in progress' were page done
6.0 KiB
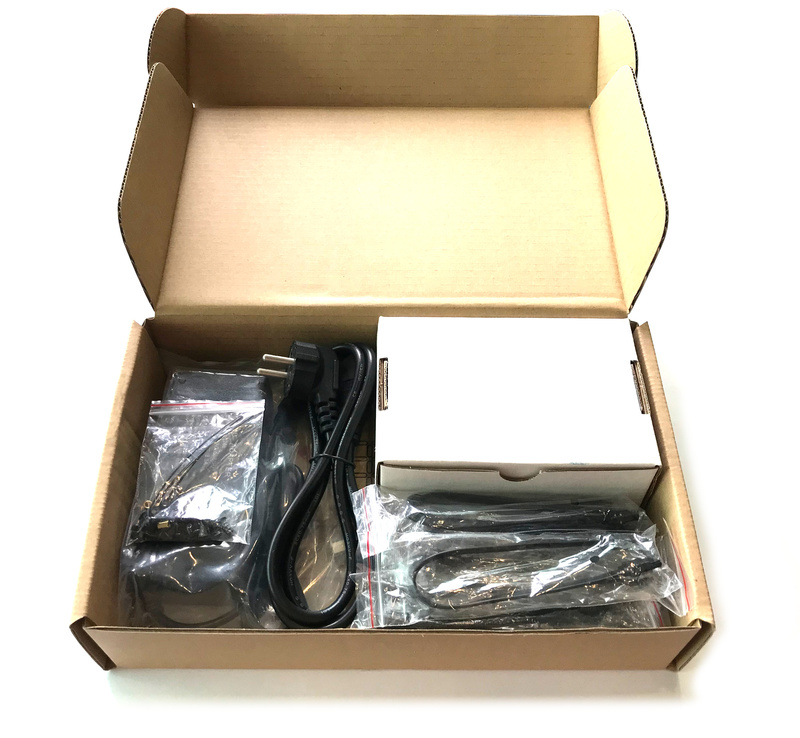
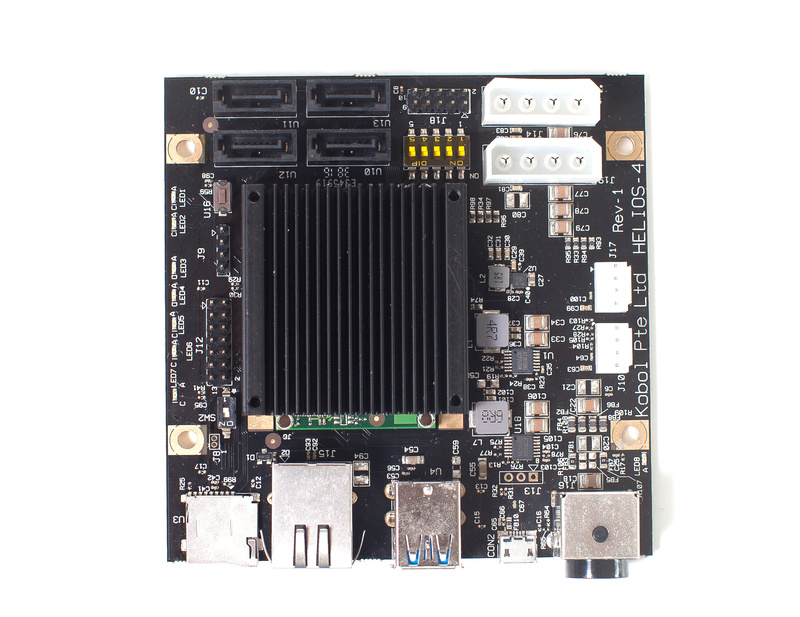
Helios4 Full Kit content
- Helios4 Board
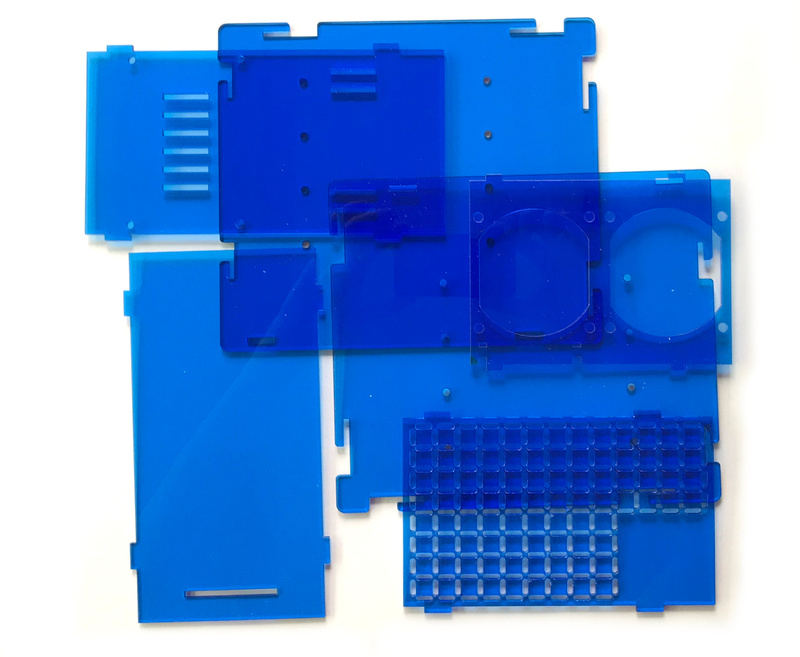
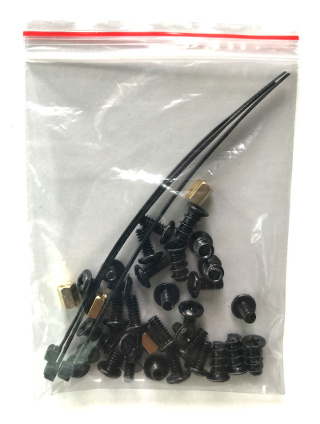
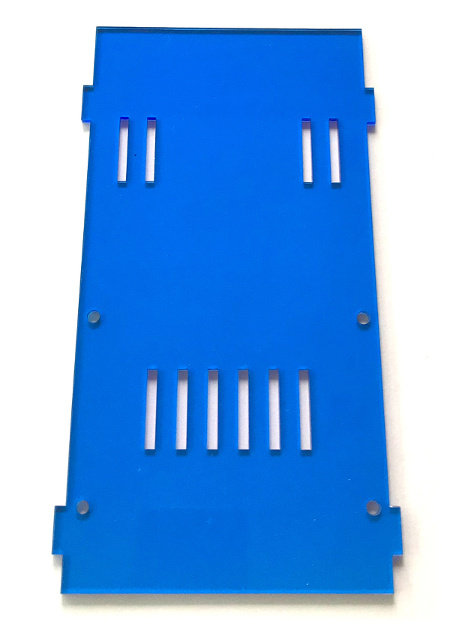
- Acrylic casing + screw kit
- 2× 70mm PWM ball bearing FAN
- 4× SATA Data Cable
- 2× Molex to dual SATA Power Cable
- AC/DC Adapter (Input:100-240VAC 50/60Hz, Output: DC 12V/8A) + AC Cable
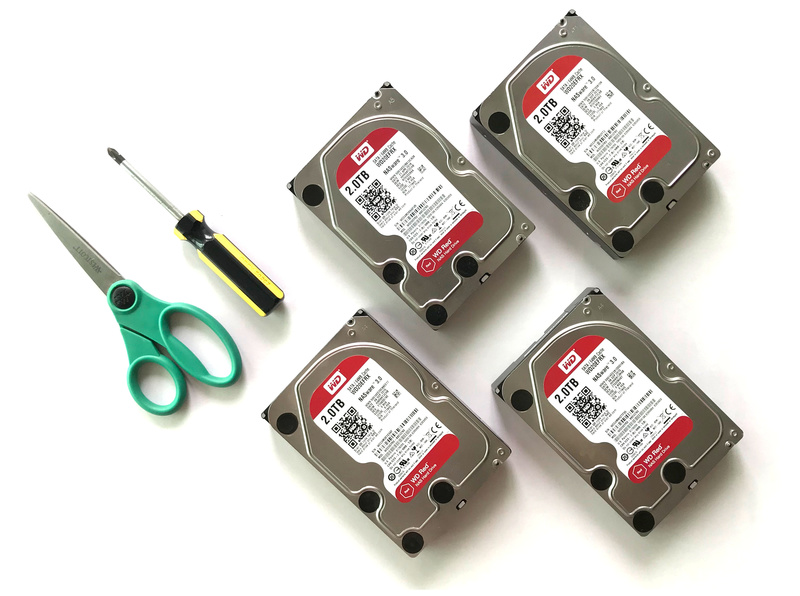
What you need
- Phillips #2 Screwdriver
- Scissors
- At least 2x HDD 3.5"
- Some patience...
Assembly quick overview
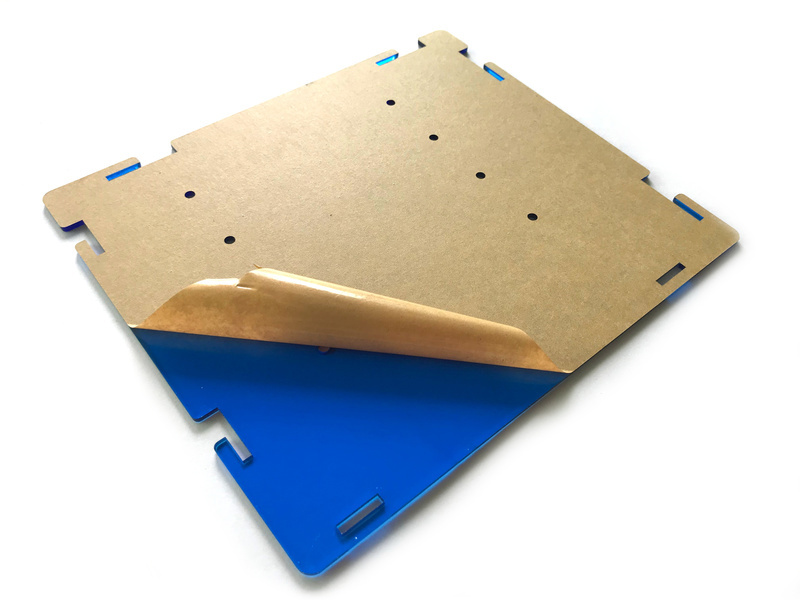
Step 1 - Preparing acrylic plates
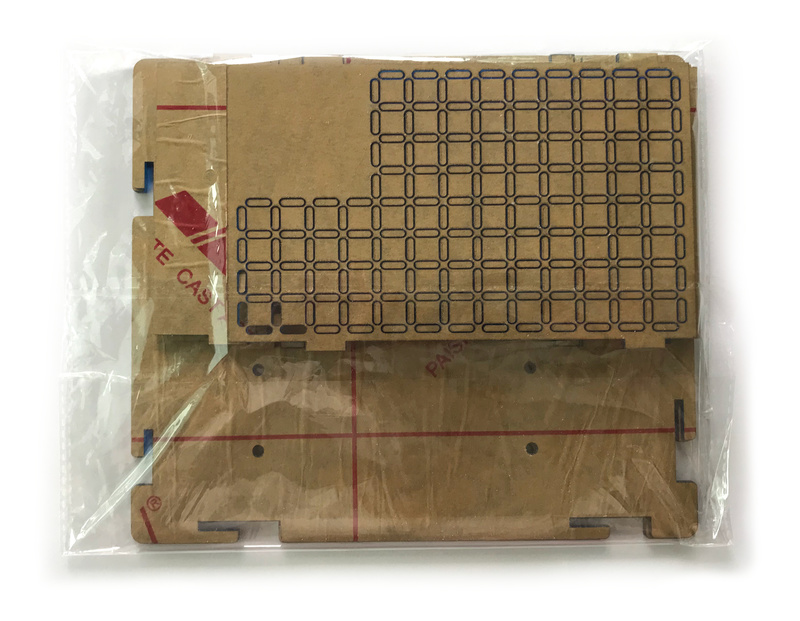
Each acrylics plate is recovered with a protective layer on both sides. Peel the protective layers slowly and insure no left-over sticks to the plate.
Because of the die-cut intricacy of the front panel, the laser cut process might have left the scrap pieces in place. You will have to use a a tool (e.g a pen or a flat screwdriver) to push out the scrap pieces.
!!! important This task requires the most patience. Don't rush it or you risk to damage it.
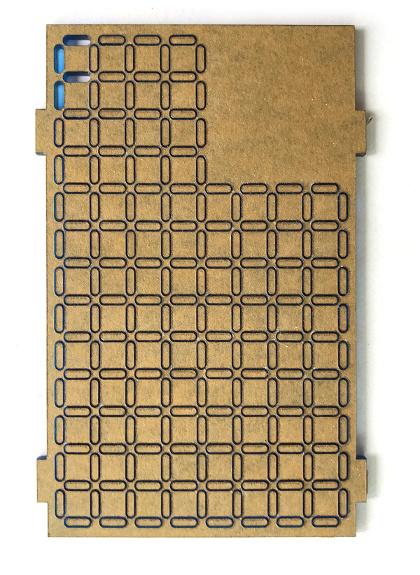
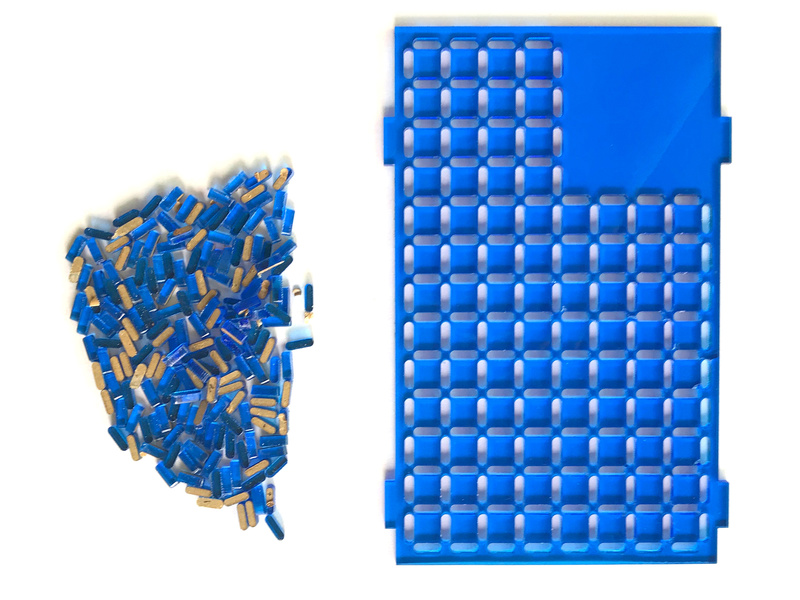
Congratulation you have completed the most annoying part.
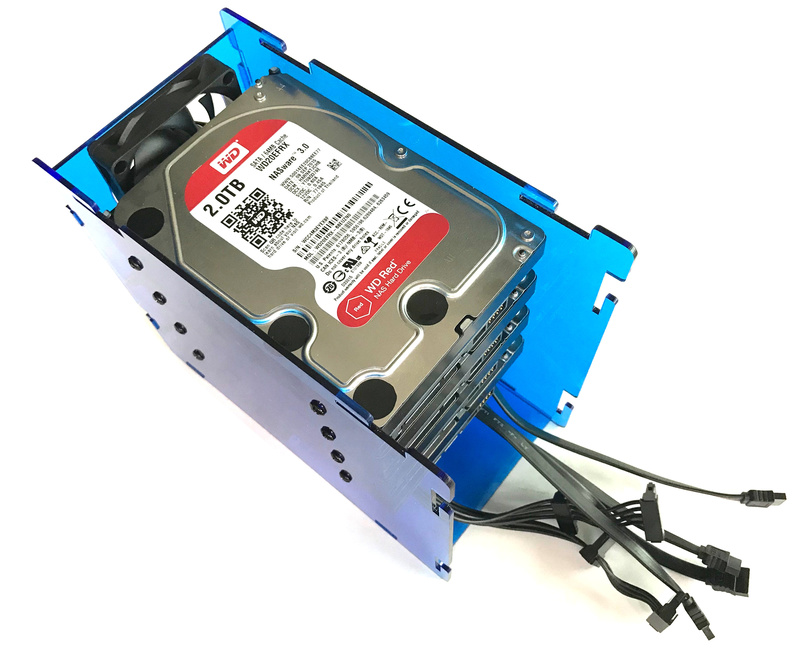
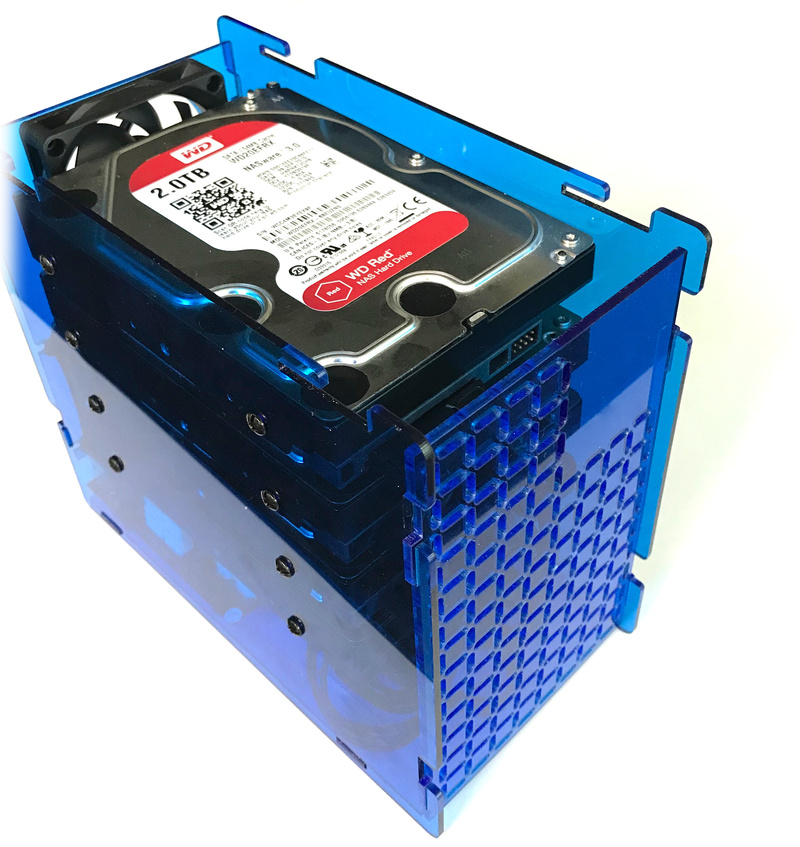
Step 2 - HDD cage assembly
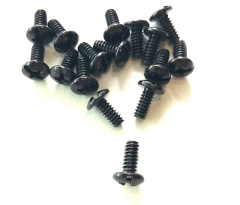
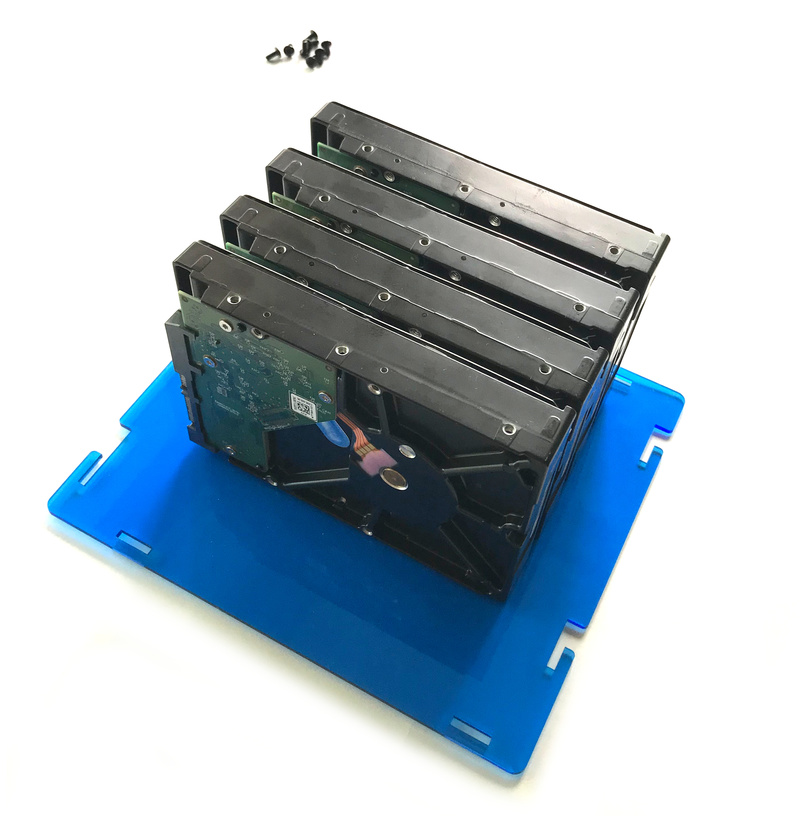
Get the HDD screws from the screw kit.
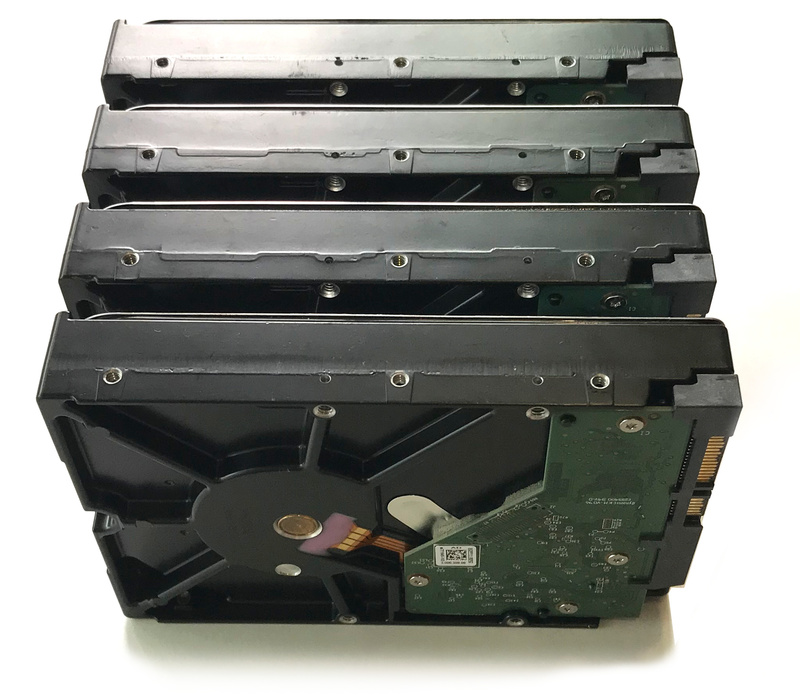
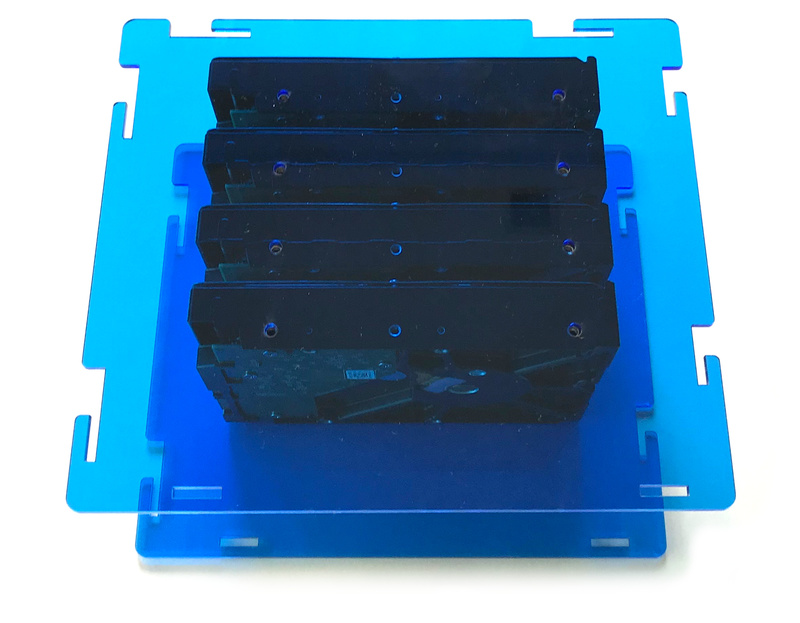
Position your HDD exactly as shown below.
Position one of the acrylic side plate on top of your HDDs. Align the holes.
!!! important Pay attention to the orientation of the acrylic side plate. You don't want to realize too late a mistake and restart the assembly from the beginning.
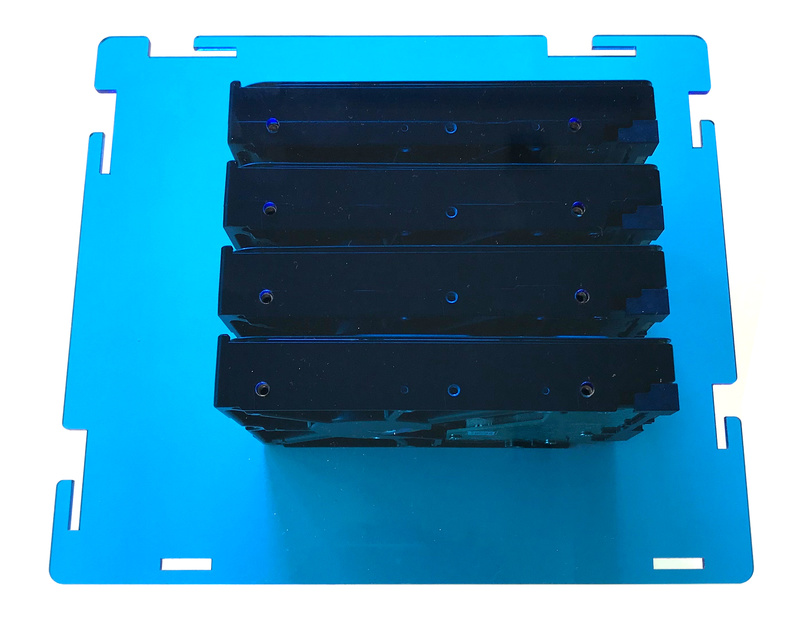
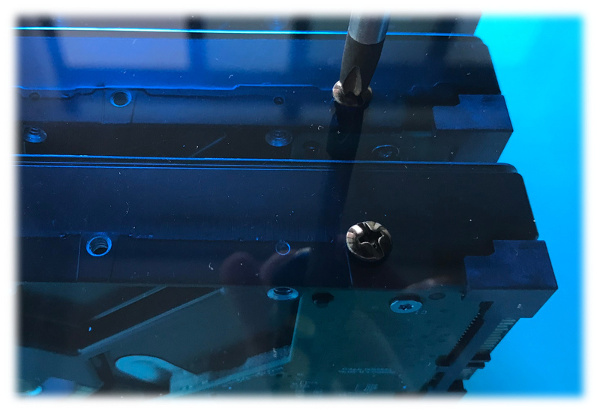
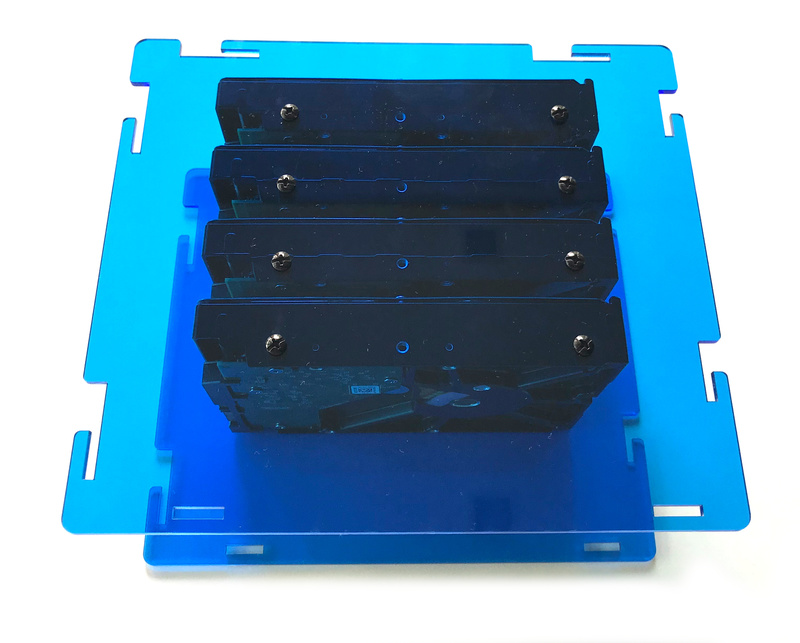
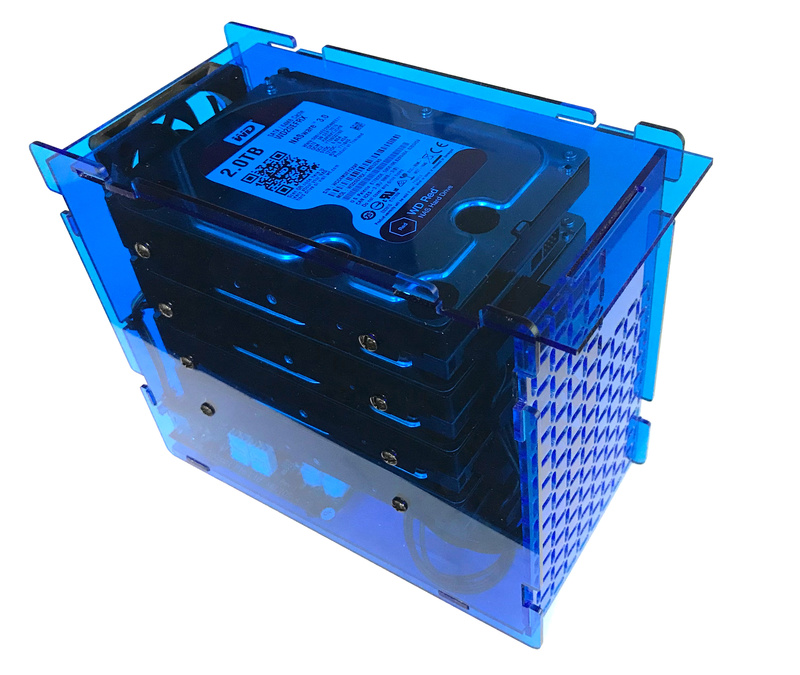
Screw the side plate to the HDDs. Don't tighten too hard.
Flip side the assembly.
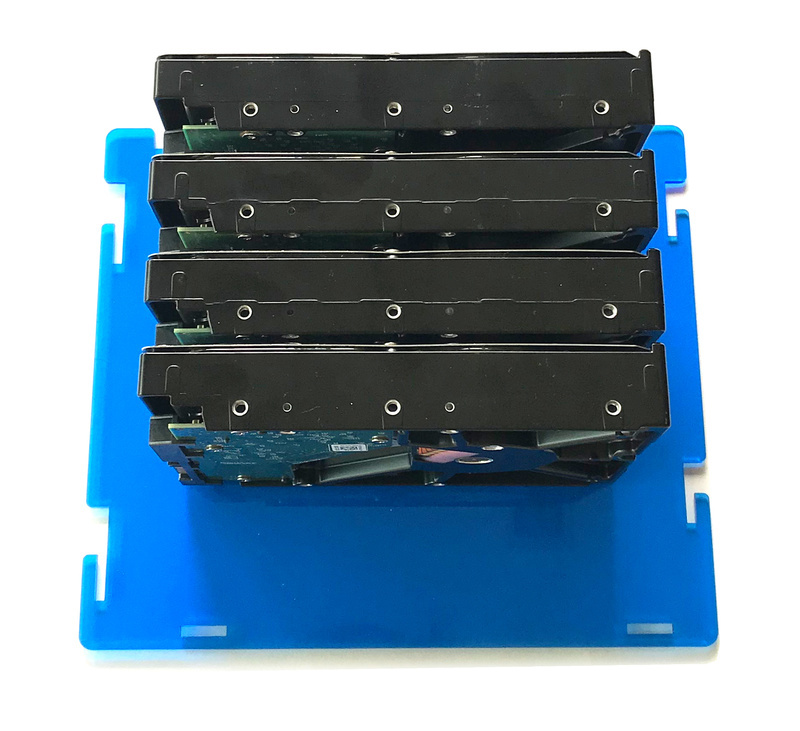
Position the order acrylic side plate on top of your HDDs. Align the holes.
!!! important Pay attention to the orientation of the acrylic side plate. You don't want to realize too late a mistake and restart the assembly from the beginning.
Screw the side plate to the HDDs. Don't tighten too hard.
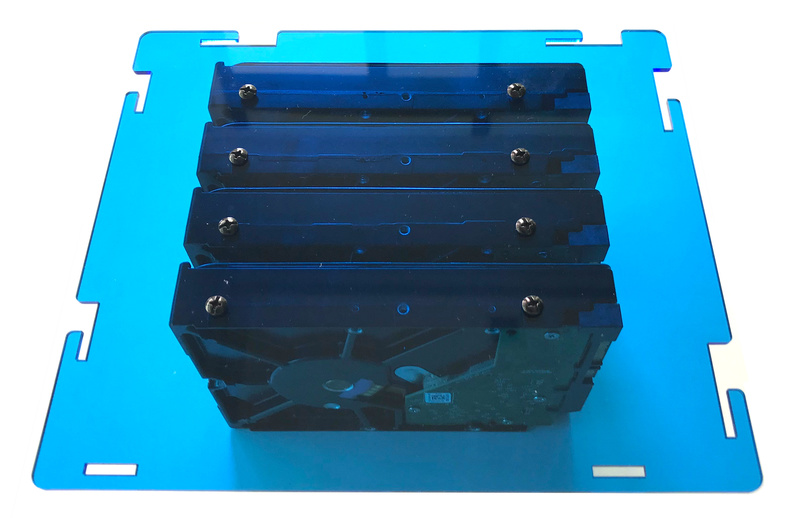
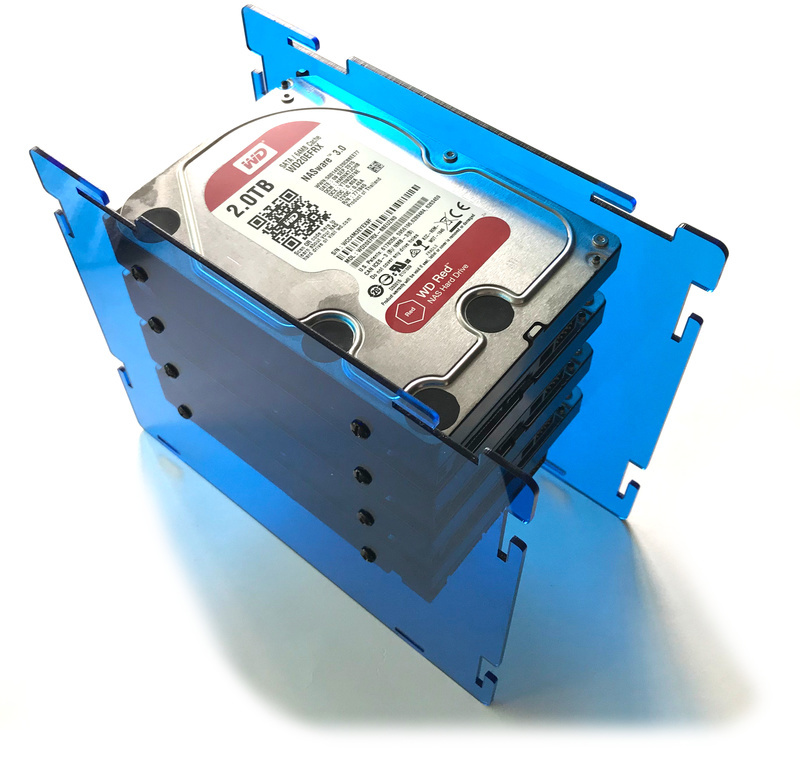
Position the HDD cage stand-up and tighten all the screws.
!!! note The cage should sit perfectly level. If not then loose the HDDs screws a bit till it sit flat and re-tighten the screws.
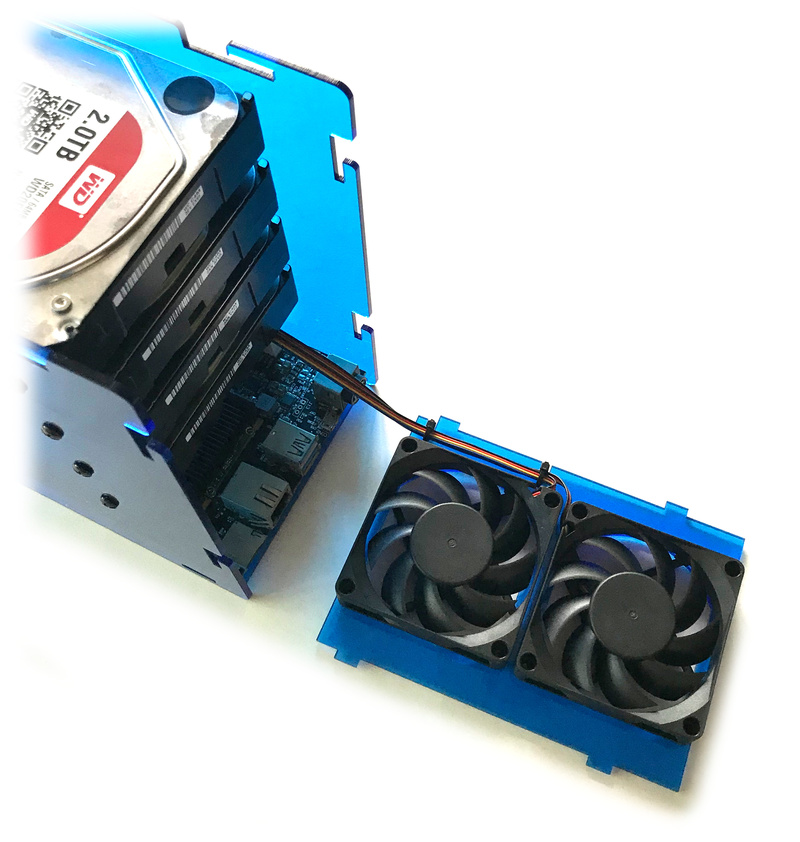
Step 3 - Fan plate assembly
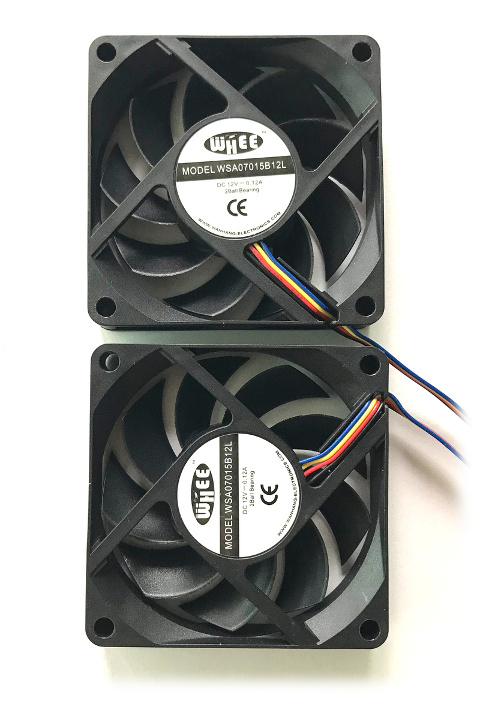
Prepare the following items.
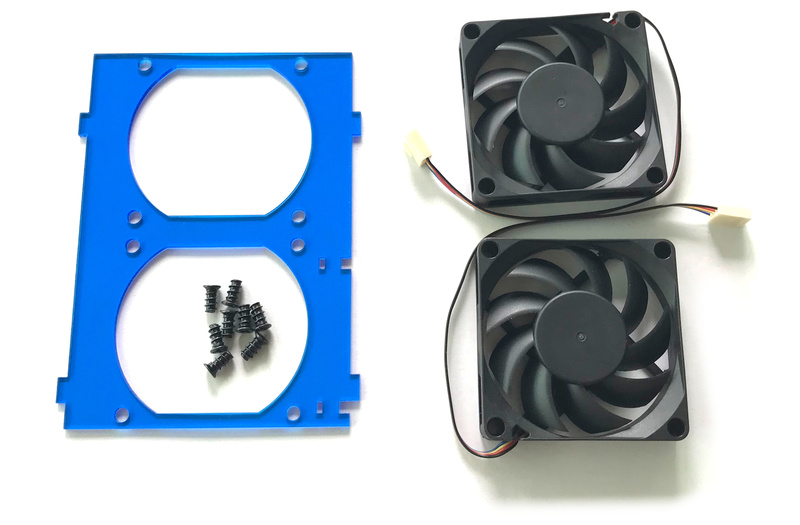
Position the fans exactly as shown below.
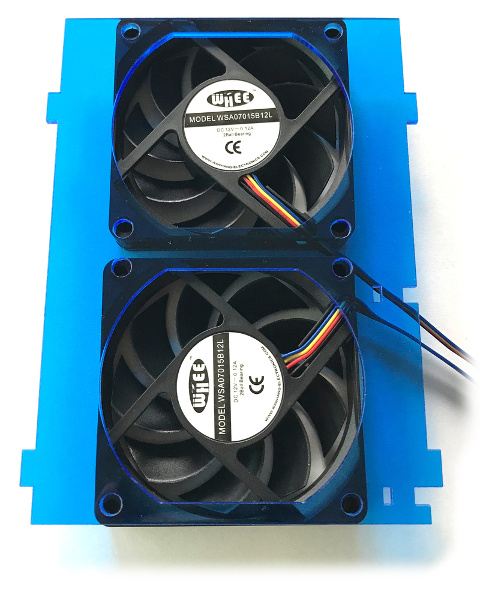
Position the acrylic fan plate on top of the fans. Align the holes.
!!! important Pay attention to the orientation of the fan plate. You don't want to realize too late a mistake and restart the assembly from the beginning.
Screw the fan plate to the fans.
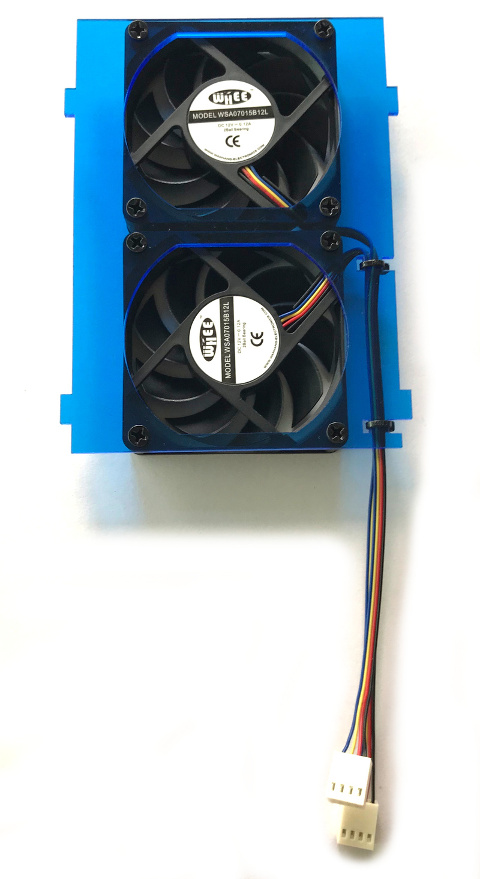
Tighten the cables to the fan plate with the provided cable zips.
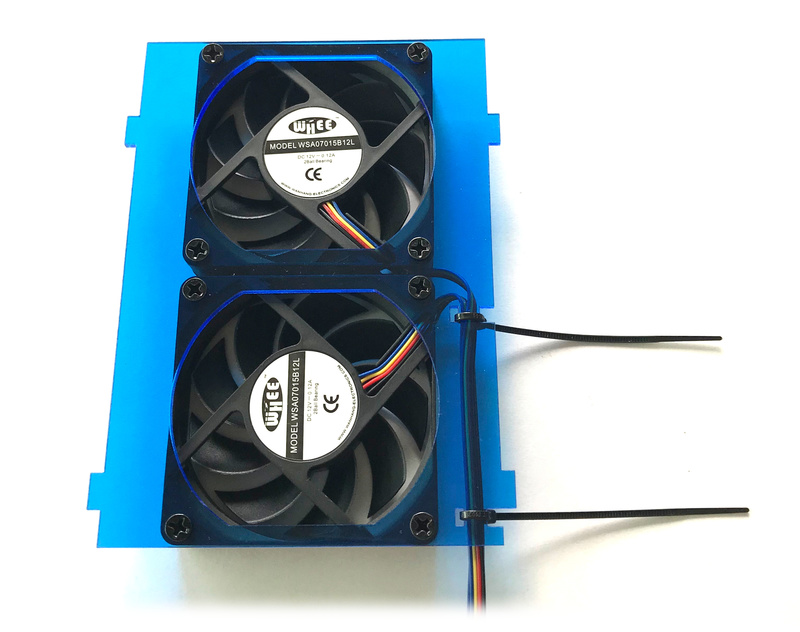
Cut the loose parts of cable zips.
Step 4 - Board plate assembly
Prepare the following items.
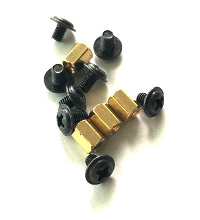
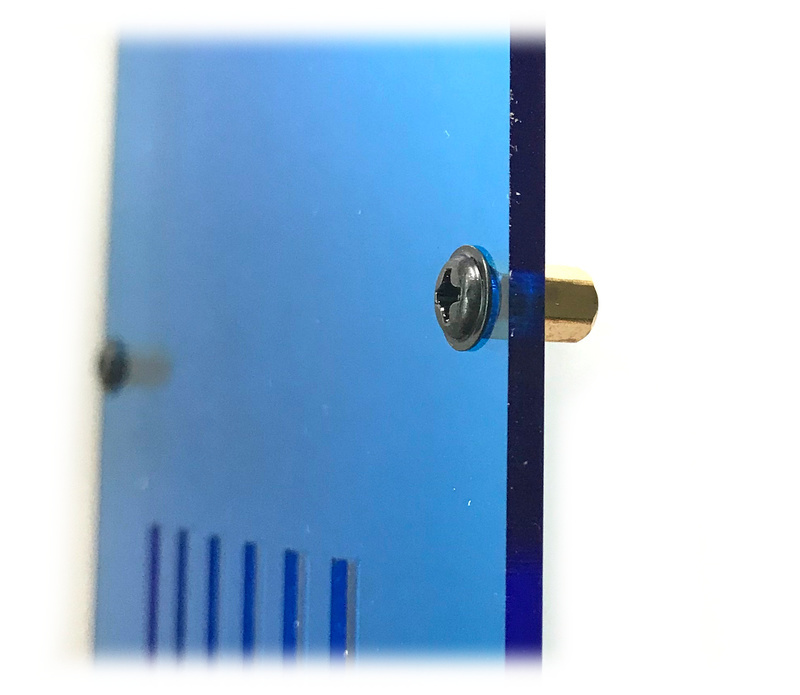
Install the standoffs on the board plate using the 5mm long screws.
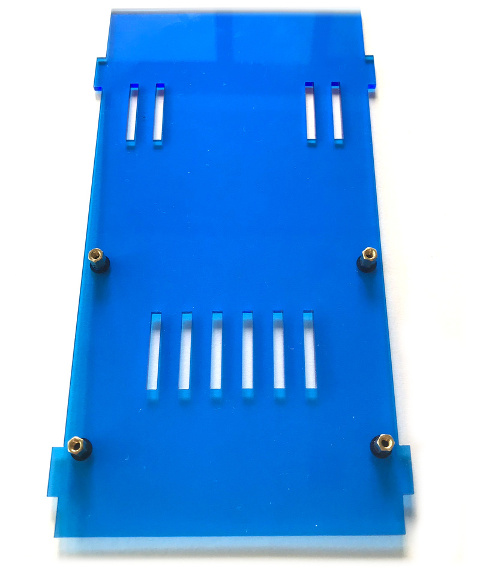
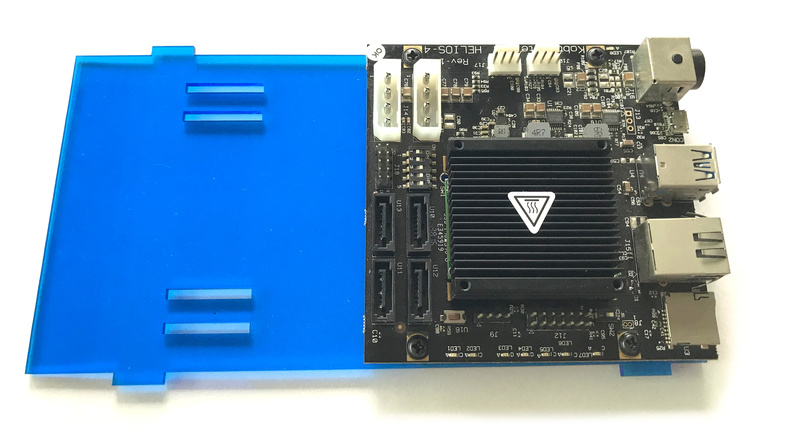
Position Helios4 board on the plate. Align the holes.
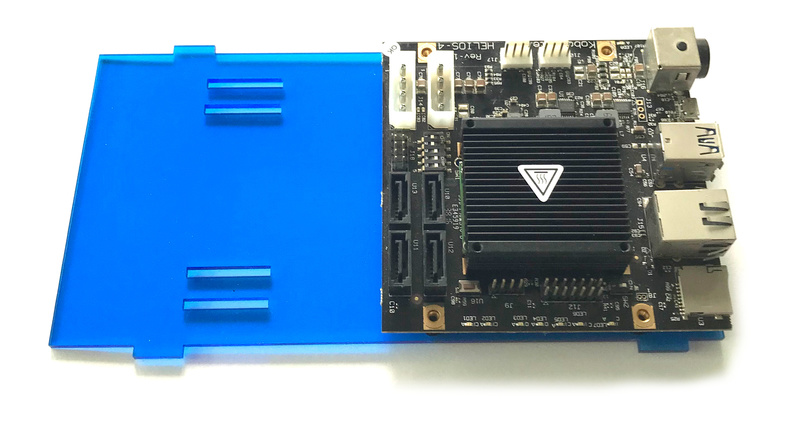
Screw Helios4 board with the 4mm long screws.
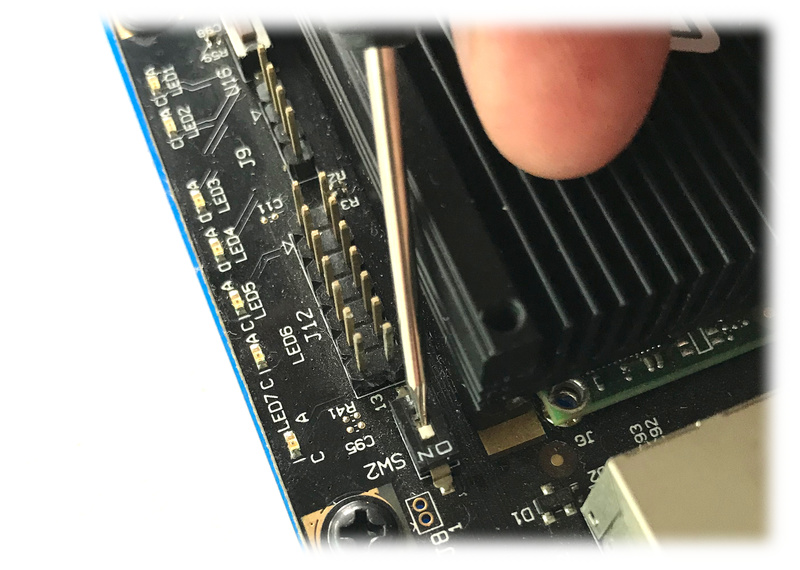
Configure the boot mode dipswitch as shown in the picture. (More info here)
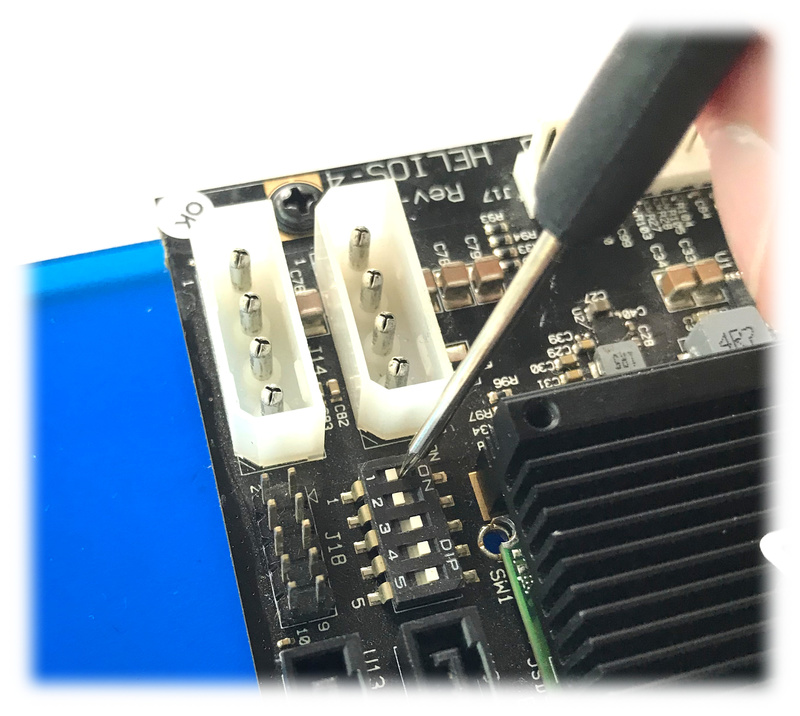
Configure the led mode dipswitch as show in the picture. (More info here)
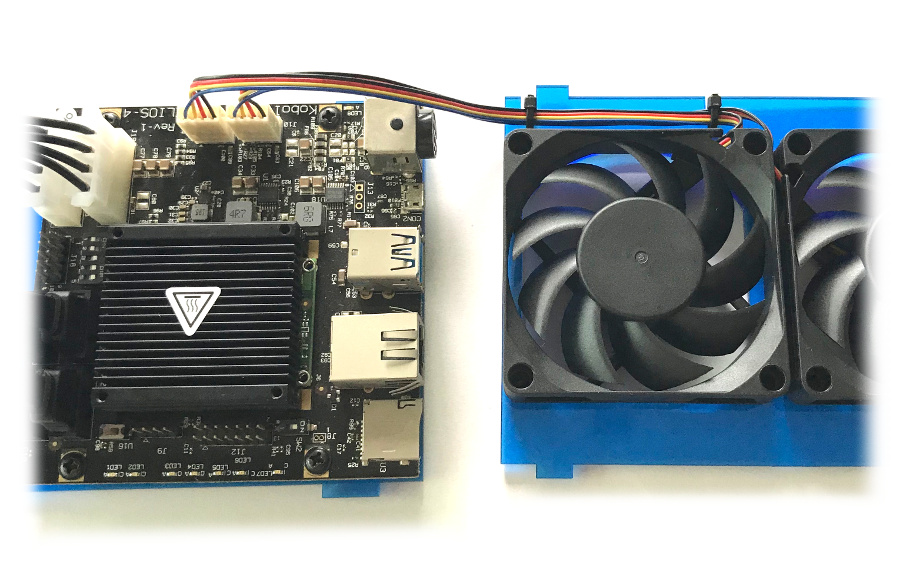
Step 5 - Board cabling
Prepare the following items.
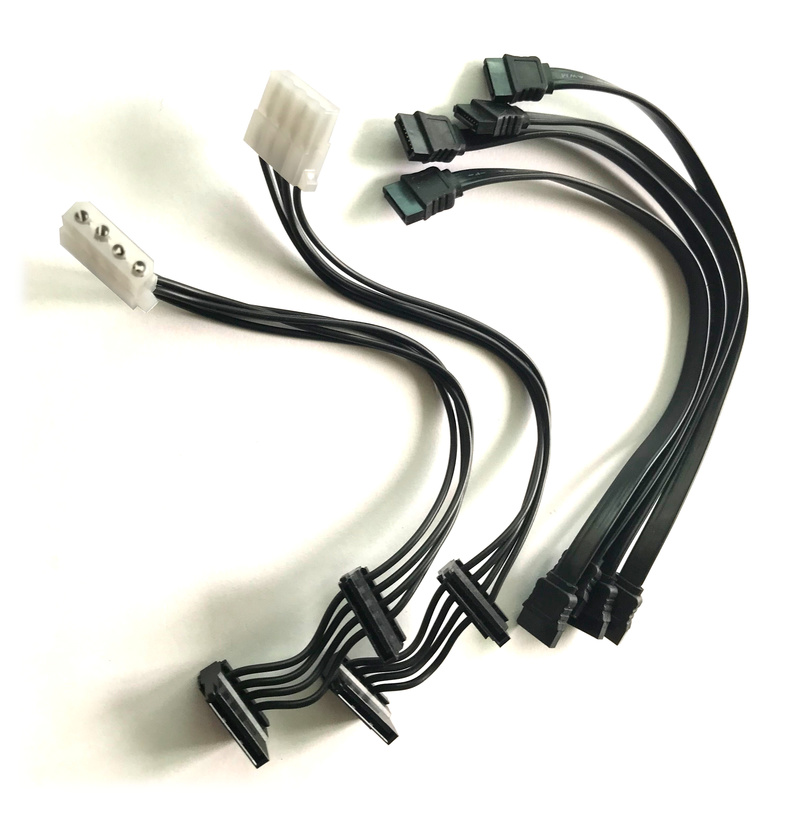
Connect the SATA cables as shown below.
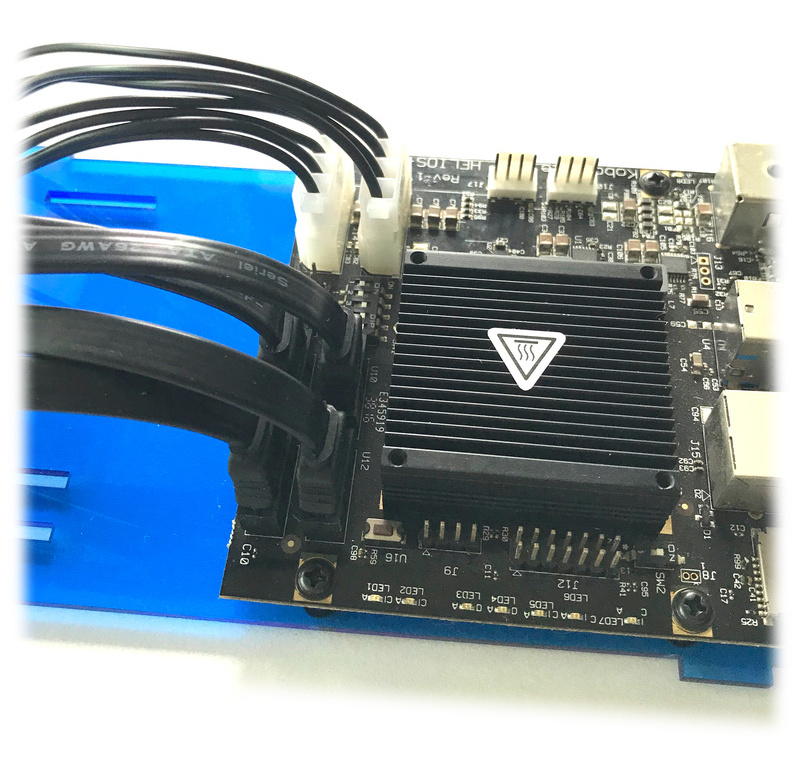
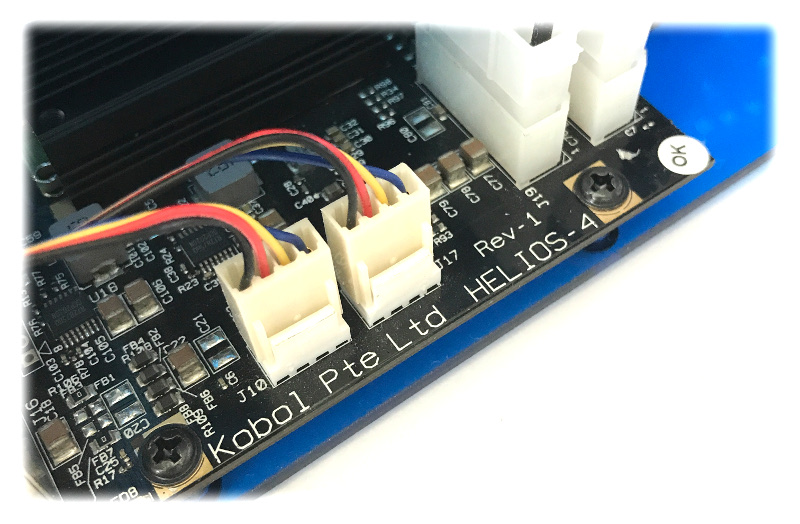
Connect the fan cables as shown below.
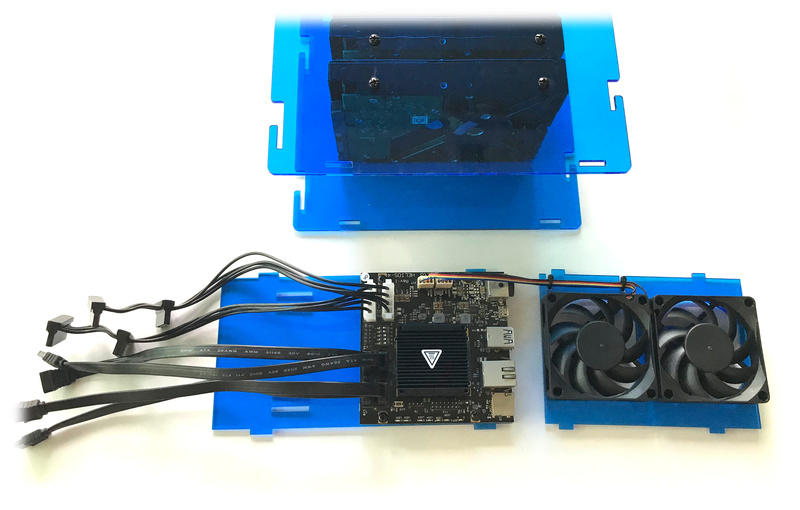
Step 6 - Casing assembly 1/2
Prepare and position the items as shown below.
Slot in the board plate into the HDD cage.
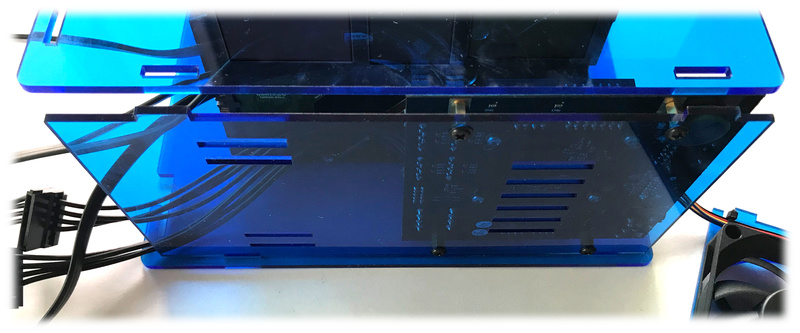
!!! note You will have to pull-up the side plate in order to slot in the board plate.

Position the assembly stand-up.
Slide in the fan plate.
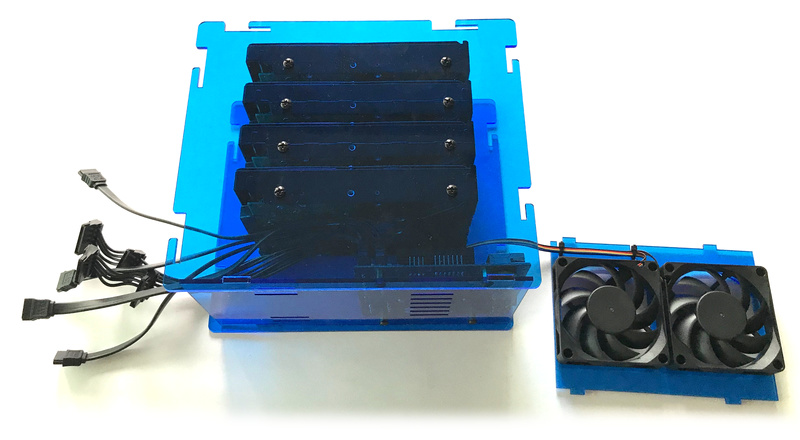
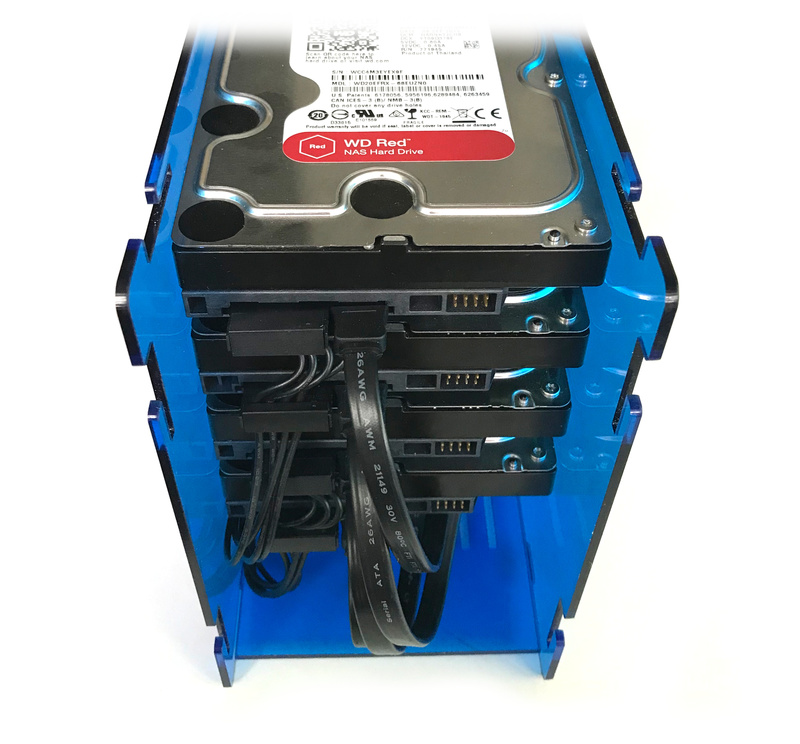
Step 7 - HDDs cabling
Insert the SATA cables as shown below.

Step 8 - Casing assembly 2/2
Prepare the following items.

!!! note You will have to push the HDD cables inside in order the slide in the front panel.
Slide in front plate.
Slide in top plate.
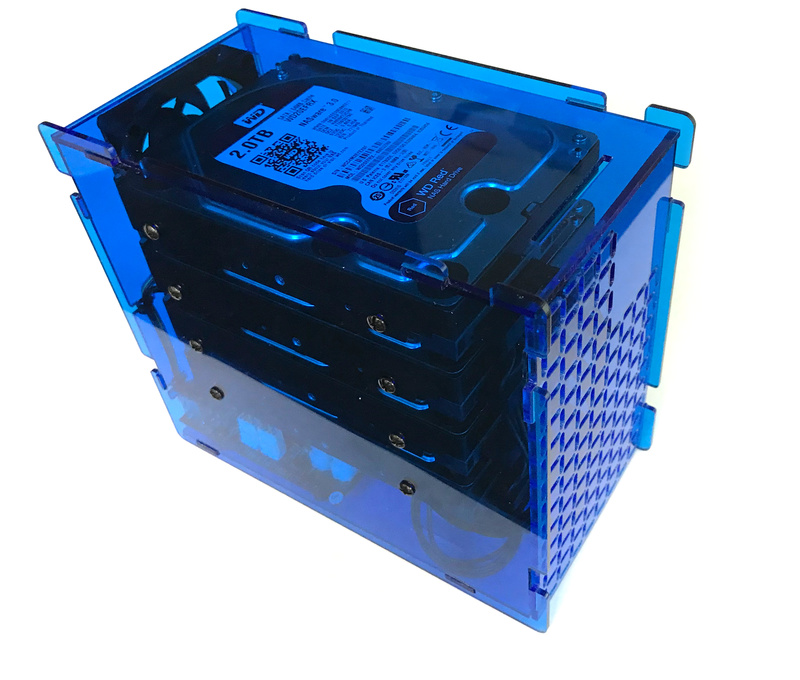
What to do next ?
AWESOME !!! You have completed Helios4 Kit Assembly.
Now you can jump to the install section.